Description
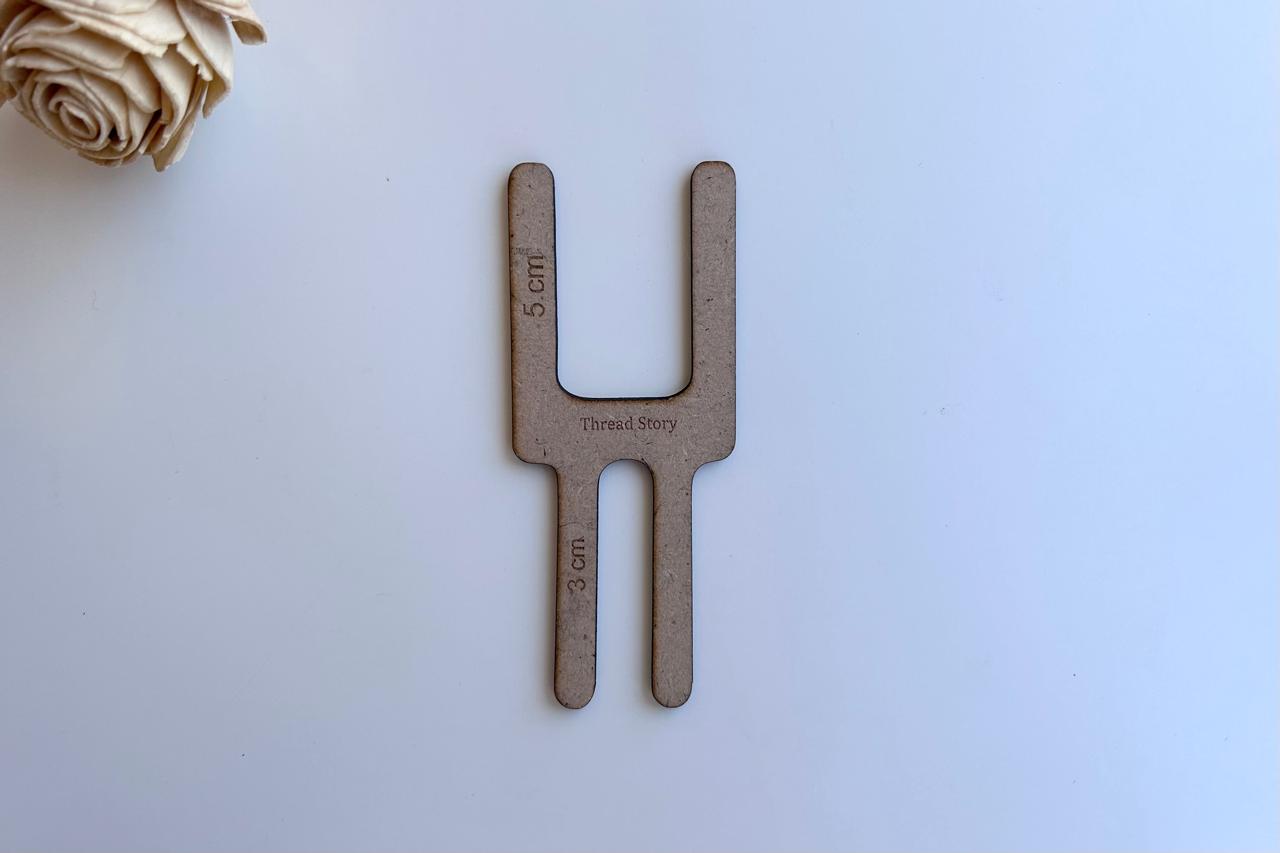
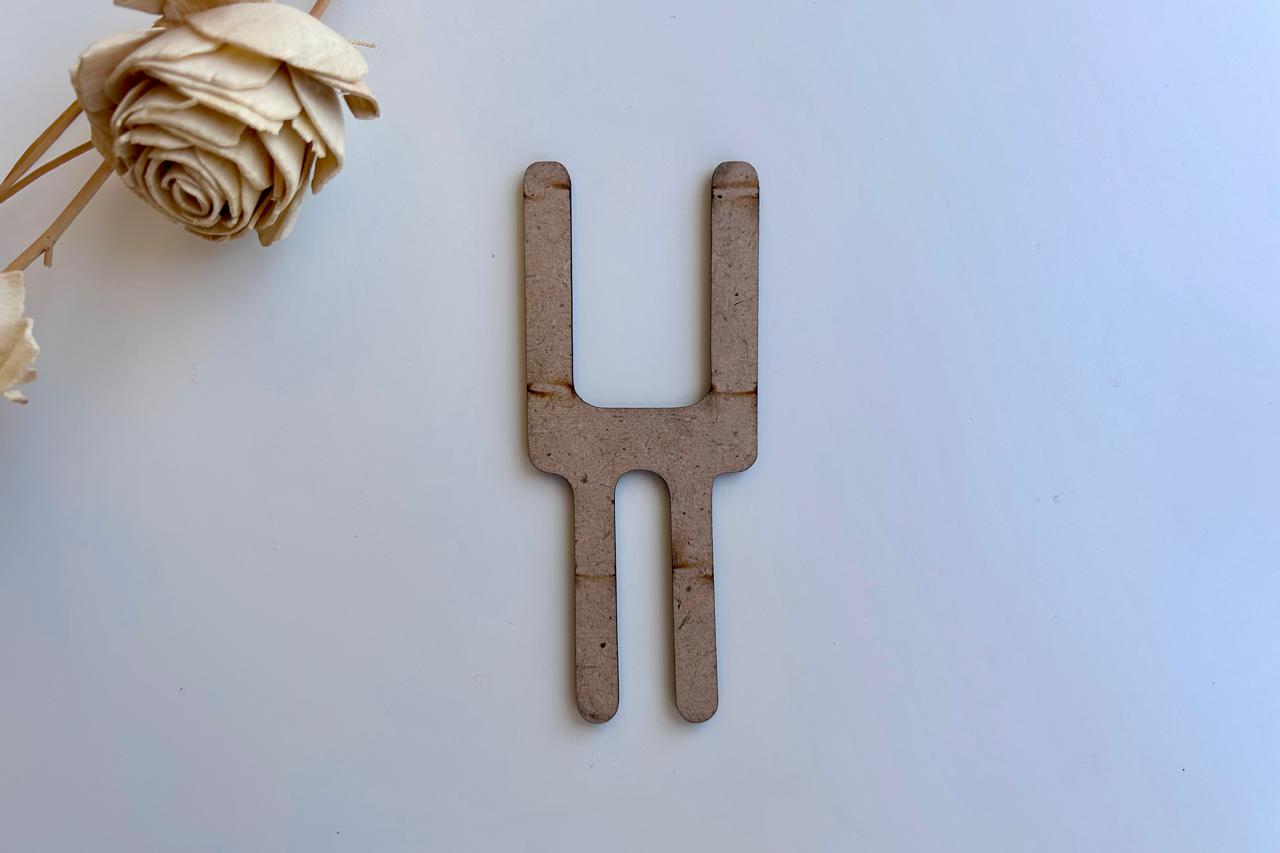
Craft perfect paracord bracelets with our Adjustable Wooden Paracord Bracelet Making Kit! This jig crafting tool set with clips ensures easy and precise DIY bracelet making.
disable-gutenberg domain was triggered too early. This is usually an indicator for some code in the plugin or theme running too early. Translations should be loaded at the init action or later. Please see Debugging in WordPress for more information. (This message was added in version 6.7.0.) in /home/u994025520/domains/thethreadstory.com/public_html/wp-includes/functions.php on line 6121mailpoet domain was triggered too early. This is usually an indicator for some code in the plugin or theme running too early. Translations should be loaded at the init action or later. Please see Debugging in WordPress for more information. (This message was added in version 6.7.0.) in /home/u994025520/domains/thethreadstory.com/public_html/wp-includes/functions.php on line 6121ninja-forms domain was triggered too early. This is usually an indicator for some code in the plugin or theme running too early. Translations should be loaded at the init action or later. Please see Debugging in WordPress for more information. (This message was added in version 6.7.0.) in /home/u994025520/domains/thethreadstory.com/public_html/wp-includes/functions.php on line 6121")

")
")

")
₹970
3 in stock
Comes with 2 clips
Processing Time – 1-2 Days
Craft perfect paracord bracelets with our Adjustable Wooden Paracord Bracelet Making Kit! This jig crafting tool set with clips ensures easy and precise DIY bracelet making.
| Weight | 0.100 kg |
|---|---|
| Dimensions | 18 × 18 × 1.5 cm |
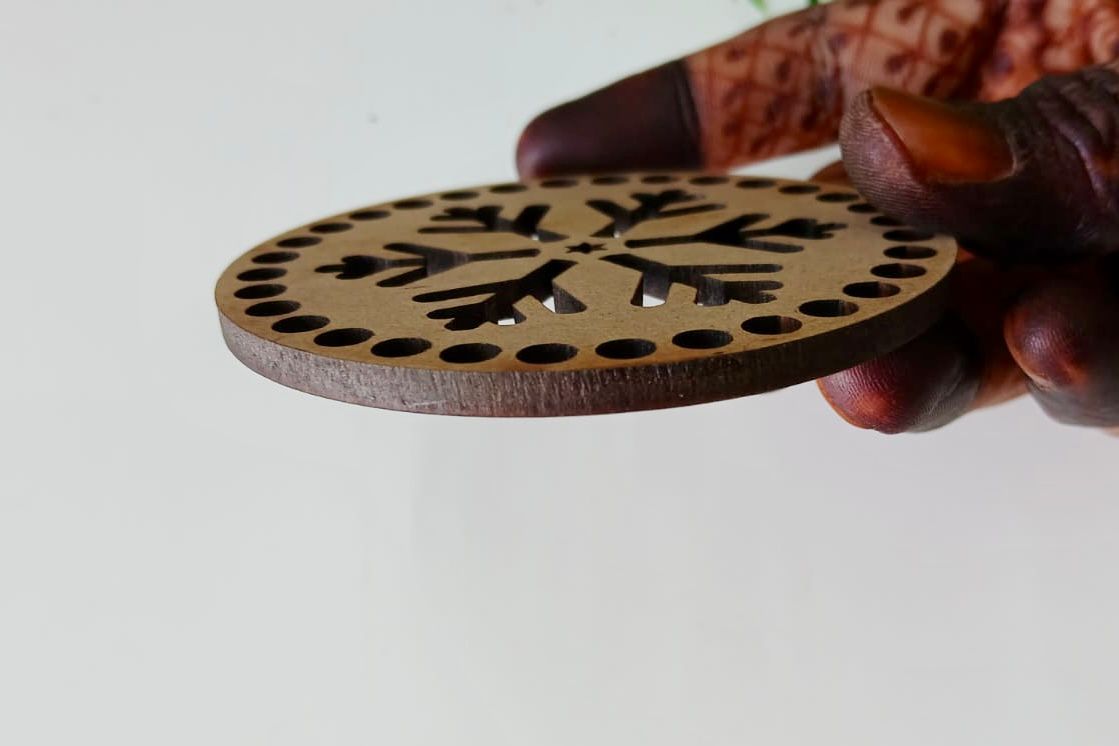
| Design | Design 1, Design 2 |

Note: All order will take 1-2 working days to process.

 -10% Off
Pack contains macramé board , pack of 25+ T- Pins , Basic learning knot Pamphlet .
Material – Cork , Thickness 10 mm
Available Sizes 7 x 7 Inch & 11 x 15 Inch

 -29% Off
Please check 2nd product picture or below video for the details regarding how to place order.
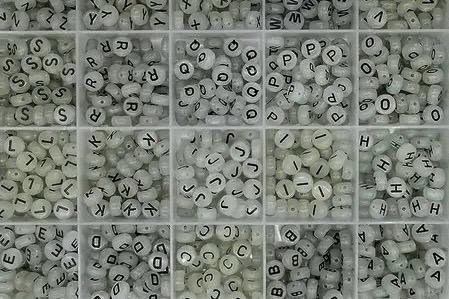
Mentioned price is per bead/letter not for whole name .
Detailed Video: https://www.instagram.com/reel/C082ZHQonFZ/?igshid=MjJkMmIyYzQxYw==
Steps to place order:
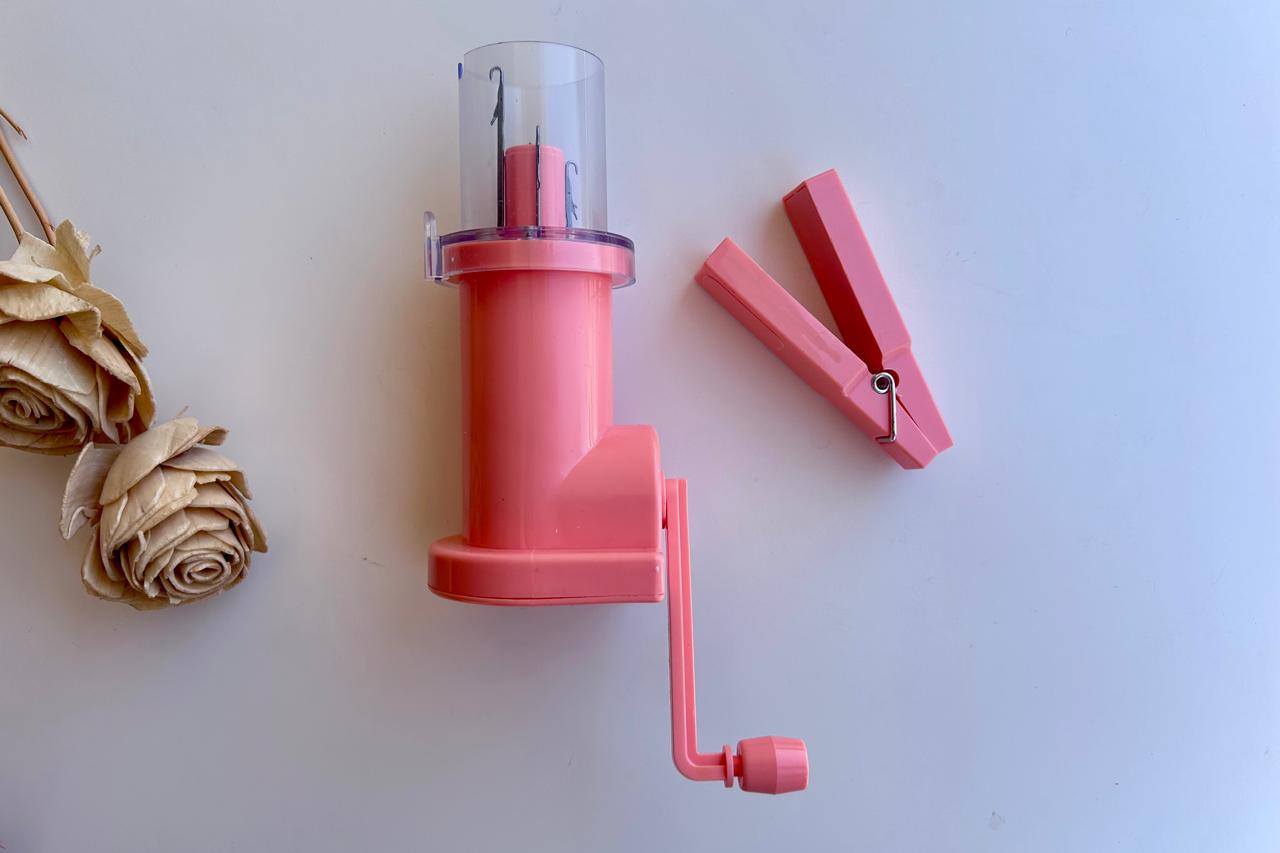

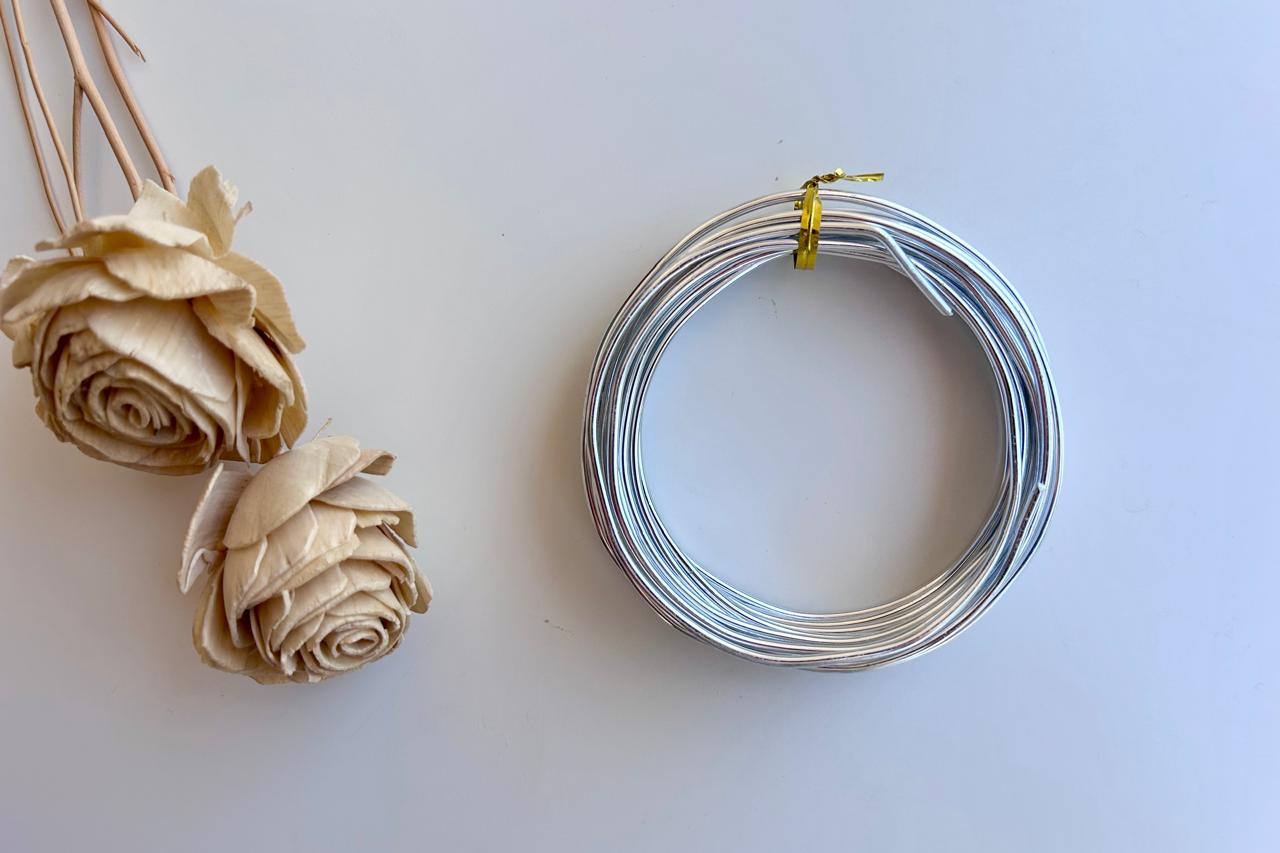
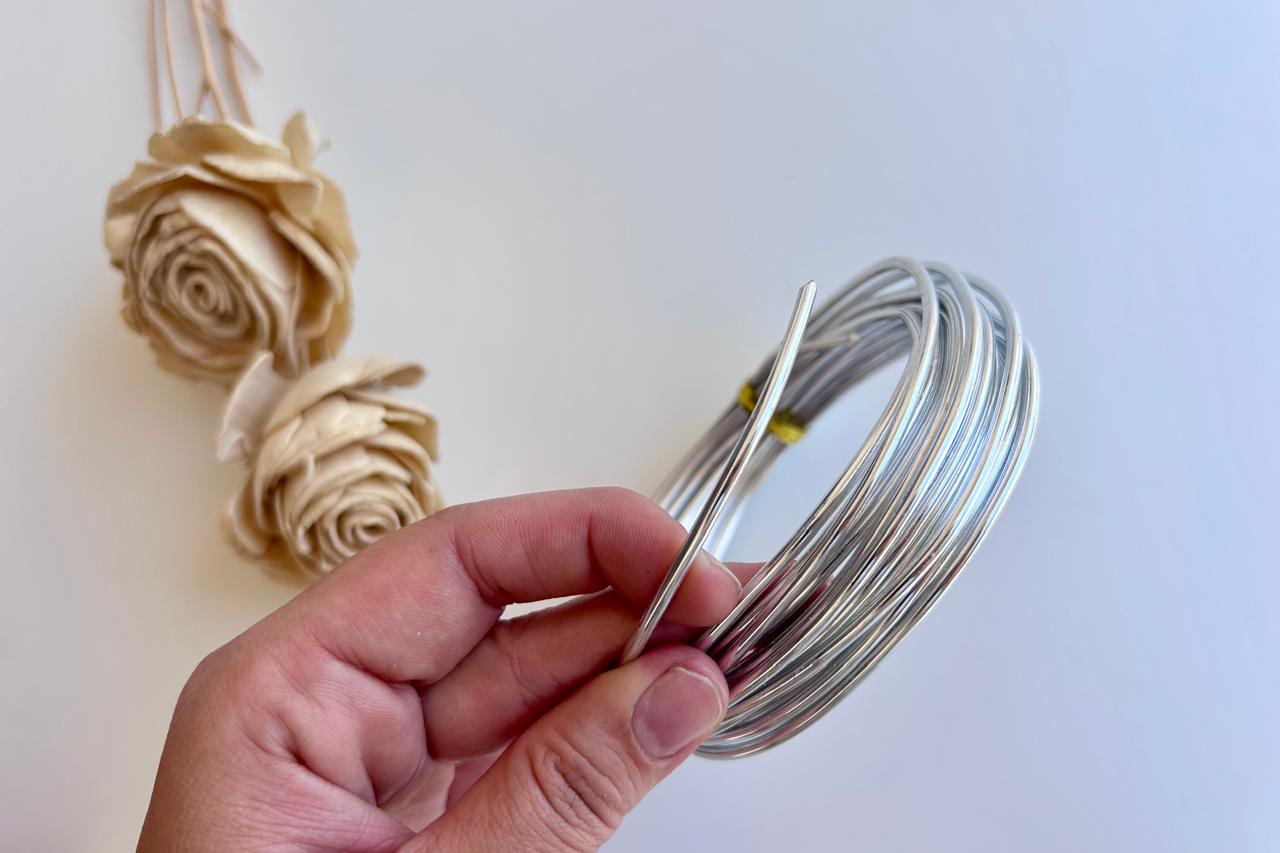
Knitting mill, Crank handle, Weight, Instructions
✅ Use smooth, tightly twisted yarn.
✅ Maintain steady tension.
✅ Check the hooks to avoid misalignment.
This easy-to-use tool makes I-cord knitting effortless—perfect for beginners! 🎉

 -10% Off
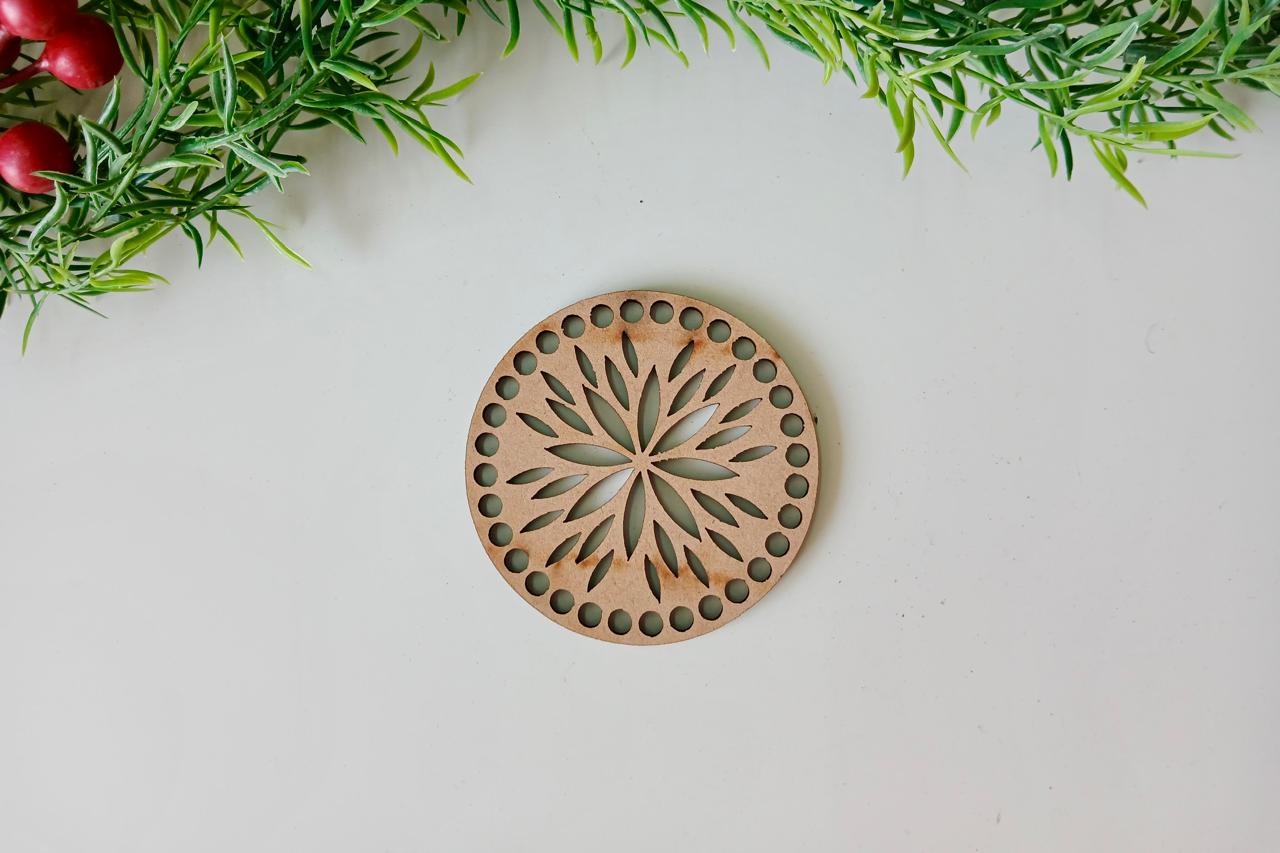

3 in stock
There are no reviews yet.